Implementing variable sized tiles using WinJS ListView
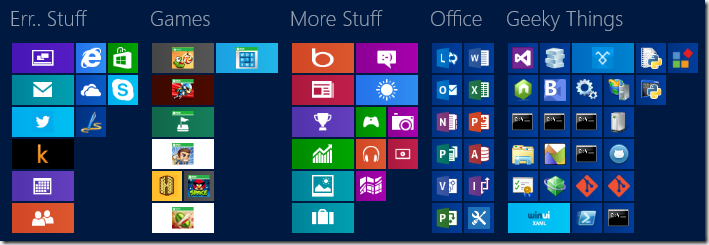
Windows Store apps on Windows 8 often use a grouped tile style for rendering user interfaces. The modern desktop on Windows 8 is a classic example. Here's a zoomed out view of my current desktop for instance:
You'll note that the tiles have been grouped into separate sections and each section contains tiles of different sizes. In this case there are only 2 sizes - a wide tile:
And a square tile:
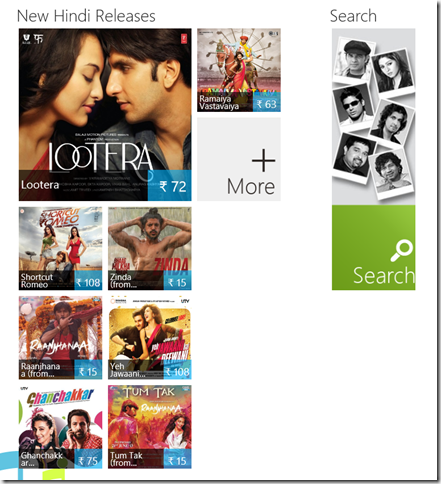
Here's an example of an app that uses different tile sizes in different groups:
I'd been meaning to write down exactly how we can customize the WinJS ListView to create interfaces such as this one and, well, here it is. The basic technique for implementing variable tiles with the WinJS ListView involves the following things:
Determine what your "cell unit" is going to be. This is the width and height of a single "unit" in pixels - the idea is that tile sizes must be a multiple of this. For example, I might decide that my cell unit is going to be 15x20 pixels. Then valid tile sizes would be 15x40, 30x20, 45x300 etc. Once you know what this is, implement the groupInfo property on the GridLayout object on your list view's layout like so.
ready: function (element, options) {
    // more stuff here
    var layout = new WinJS.UI.GridLayout();
    layout.groupInfo = this.getGroupInfo.bind(this);
    // more stuff here
},


getGroupInfo: function () {
    return {
        enableCellSpanning: true,
        cellWidth: 15,
        cellHeight: 20
    }
},
Since different tiles in your control can be of different sizes you'll need to tell the ListView what those sizes are going to be. You do this by implementing a method called itemInfo on your GridLayout object. The ListViewcalls itemInfo for every element it renders from the data source. The important thing to remember is that the size you return from the itemInfo method must be a multiple of the size you returned from groupInfo.
ready: function (element, options) {
    // more stuff here
    var layout = new WinJS.UI.GridLayout();
    layout.itemInfo = this.getItemInfo.bind(this);
    // more stuff here
}


getItemInfo: function (index) {
    var data = ImageData.imagesList.getAt(index);
    var size = {
        width: 150,
        height: 200,
        newColumn: false
    };
    if (data.group.name ===
           ImageData.imageGroups.kittens.name) {
        size.height = 100;
    }
    else if (data.group.name ===
           ImageData.imageGroups.portraits.name) {
        size.width = 120;
    }
    return size;
},
Associate a JS function for your list view's itemTemplate property. The job of this function is to render an item.
listView.itemTemplate = this.selectItemTemplate.bind(this);It is passed a WinJS.Promise object as a parameter which when resolved will yield the data item which is to be rendered. We can either manually create DOM elements using document.createElement from this routine or, as is more convenient, use declaratively pre-created WinJS.Binding.Template instances from the HTML mark-up. Here's an example implementation showing how to do this:
selectItemTemplate: function(itemPromise, recycle) {
    return itemPromise.then(function (item) {
        var data = item.data;
        var template;
        if (data.group.name ===
                ImageData.imageGroups.kittens.name) {
            template = document.querySelector("#wide-template").
                winControl;
        }
        else if (data.group.name ===
                ImageData.imageGroups.portraits.name) {
            template = document.querySelector("#long-template").
                winControl;
        }
        else {
            template = document.
                querySelector("#default-template").winControl;
        }
        return template.render(item.data);
    });
},
As you can tell we first wait for the promise to resolve and then take the data and do some custom template selection logic to pick a template from the DOM and then call its render method passing in the data object as binding context. You will need to ensure that the styling you use on your template mark-up matches up with the size you return from itemInfo as otherwise you might end up with blank spaces in your tiles where the styling doesn't get applied (now, you might want to do this deliberately of course, in which case its totally fine). That's pretty much it!


